
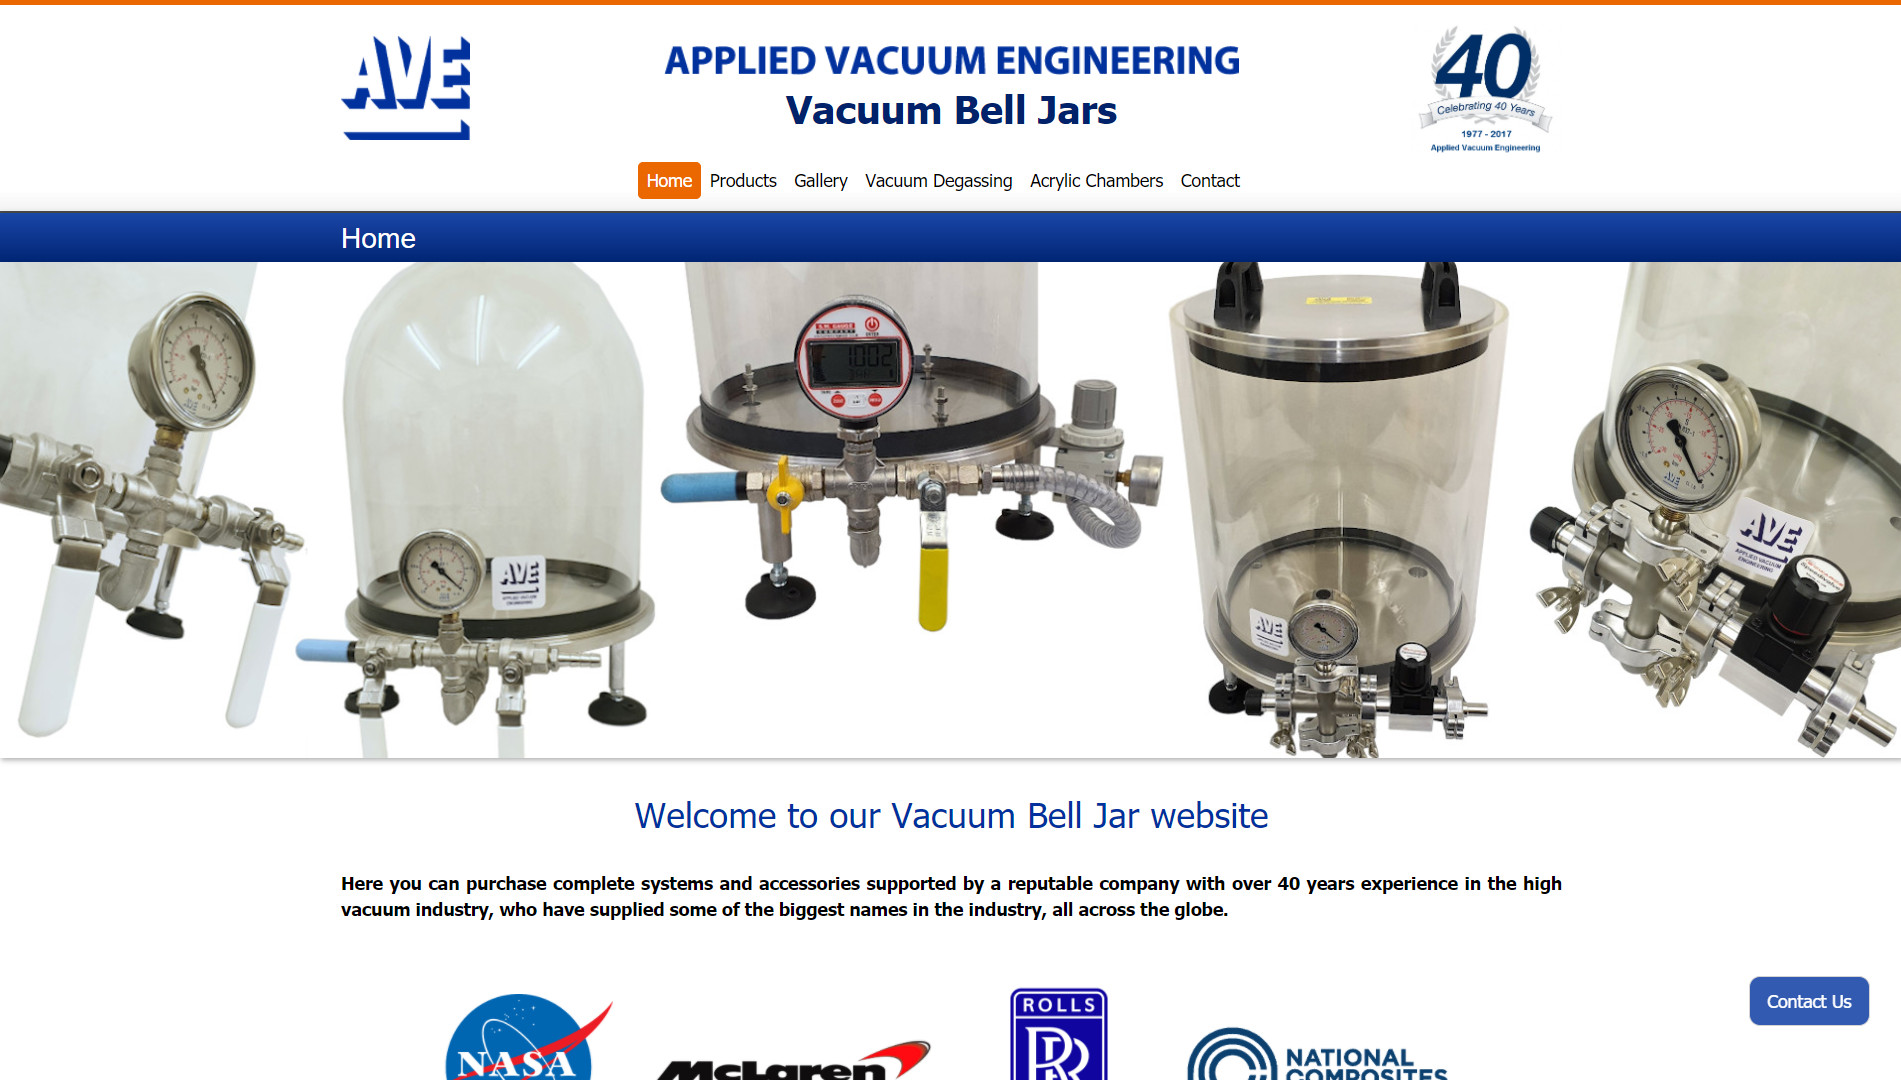
Some notes and advice on vacuum degassing
Degassing Technical
Vacuum Degassing – Suggested Methods and Advice
Understanding the correct procedures for vacuum degassing is essential for achieving bubble-free castings and reliable electronic encapsulation. This guide covers typical materials, the degassing process, and critical advice for optimal results.
Typical Materials That Can Be Degassed
Vacuum degassing effectively removes trapped air from various mixed materials, preventing defects in your finished casts:
- RTV Silicone Rubber
- Araldite
- Polyester Resin
- Plastosals
- Casting Plaster
- Polysulphide Rubber
- Polyurethane Resin
- Adhesive Mixes
- Epoxy Resins
- Investment Plaster
Why Degas?
When materials are mixed with additives, accelerators, or fillers, air bubbles become trapped. If not removed before the material cures, these bubbles lead to defects such as nodules, cavities, and hollows, requiring additional work to correct.
For electrical and electronic encapsulation, trapped air bubbles pose a significant risk, potentially causing electrical breakdown and component failure.
The Degassing Process Explained
All mixed materials, including epoxy resins, Araldites, and silicone rubbers, expand significantly during the vacuum degassing process—often 2 to 6 times their initial volume.
Crucial Advice:
- Use an Adequate Container: Always use a container of sufficient volume to allow for this expansion and prevent overflow.
- Expansion & Viscosity: The material’s expansion decreases as bubbles burst at the surface. The total time required (several minutes) depends on material viscosity, the vacuum pump’s speed, and the chamber volume.
- Pot Life & Viscosity: Be mindful of the material’s viscosity and pot life. High-viscosity materials take much longer to degas and some may be very difficult to process effectively.
Testing Your Materials
If you are unsure about your material’s properties, perform simple tests:
- Determine Pot Life: Mix a small sample and observe how long it remains fluid without degassing.
- Monitor Degassing Pressure: Place a small sample in the chamber and observe through the lid. Note the pressure on the gauge when bubbles first appear.
- Caution: Some materials outgas at high pressures (over 50 Mbar). Avoid holding full vacuum for extended periods, as this can evaporate volatile components, alter the chemical structure, and affect curing time. Only maintain vacuum long enough to remove air bubbles, not the material itself.
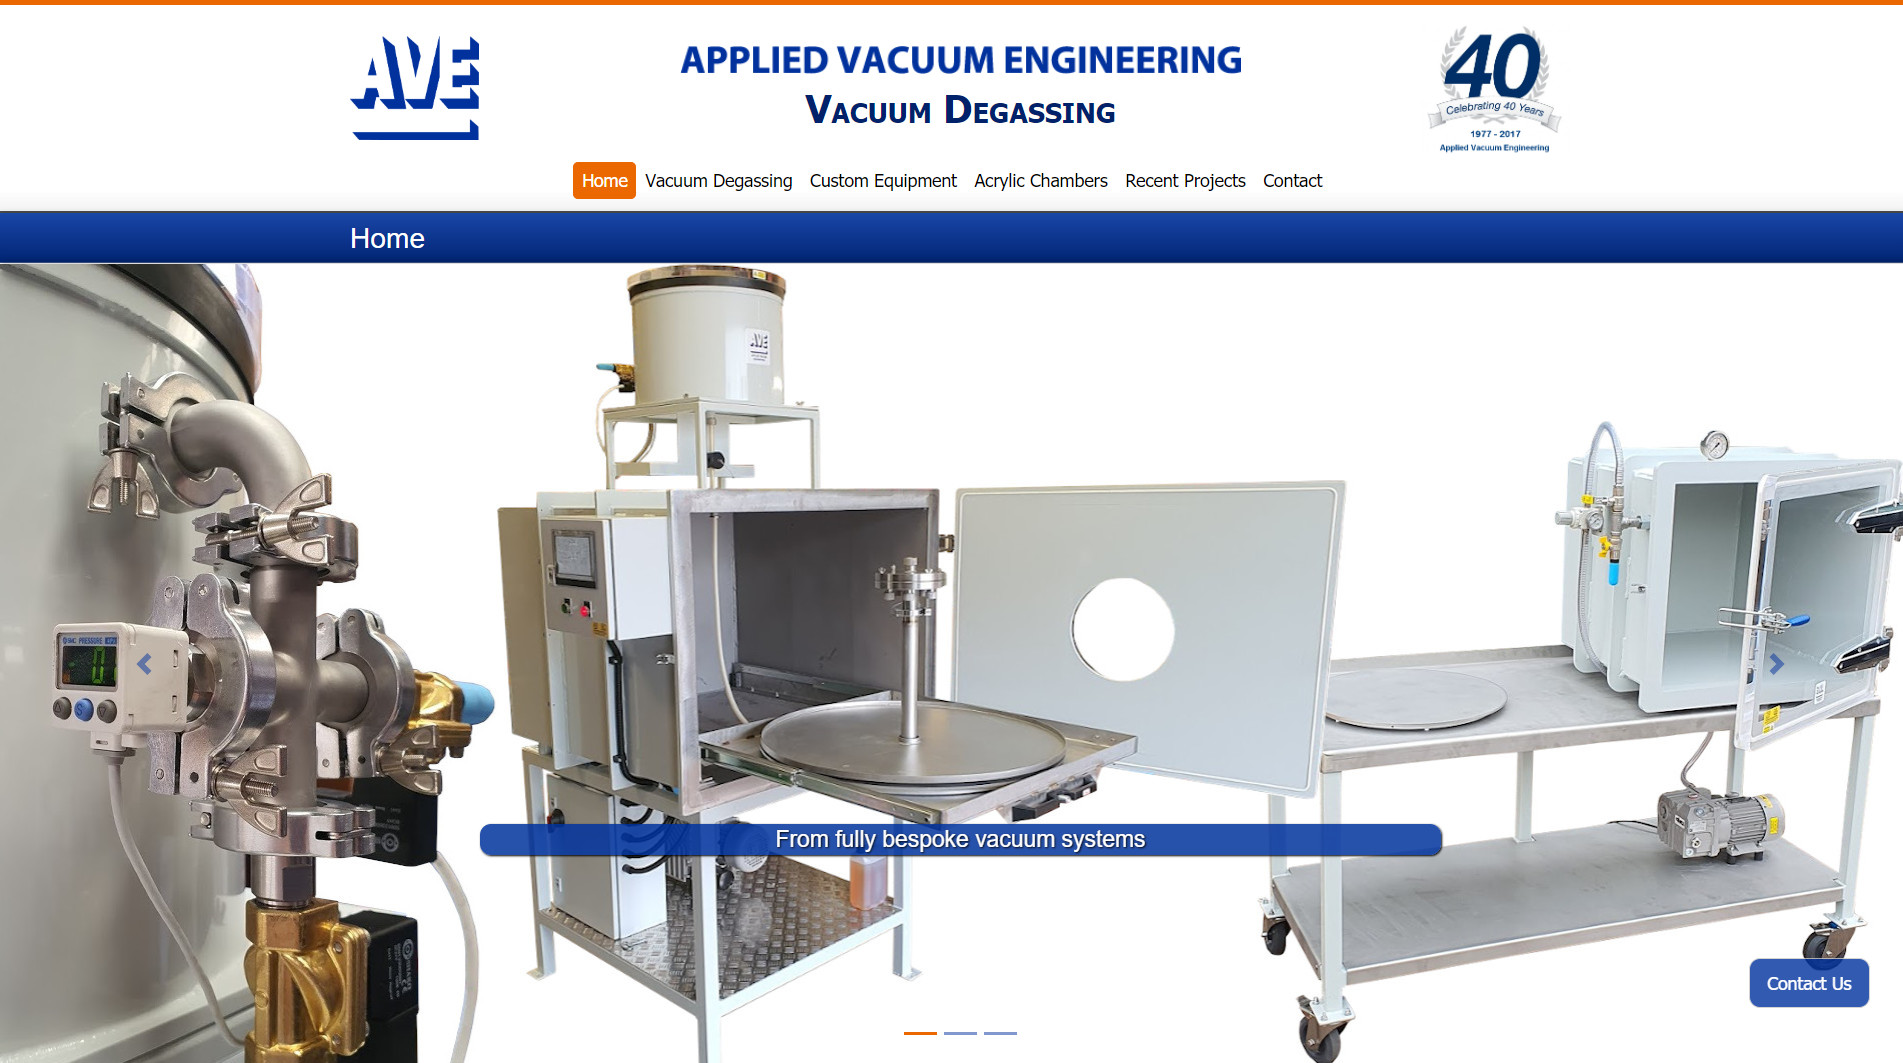
Step-by-Step Degassing Procedure
- Prepare the Pump: Ensure the vent and vacuum isolation valves are closed, then switch on the vacuum pump to warm up. A warm pump is more efficient and handles condensable vapors better.
- Mix Material: Measure and mix your material, hardeners, and fillers in an adequately sized clean bucket.
- Place in Chamber: Place the bucket inside the vacuum chamber and secure the lid. Gently open the vacuum isolation valve.
- Monitor Expansion: Observe the material surface. As bubbles rise, close the isolation valve. If the bubbles subside quickly, repeat the process, progressively reducing the pressure.
- Control Rapid Expansion: If the material level rises rapidly, close the isolation valve and open the vent valve slightly to ‘collapse’ the mixture and break surface bubbles. Balance both valves to safely degas volatile mixes.
- Finish & Pour: Once satisfied the material is degassed, close the isolation valve, open the vent valve, and remove the lid. Carefully pour the mixture into your mold.
- Degassing in the Mold (Optional): The filled mold can be placed back in the chamber for a few seconds at full vacuum to remove air trapped in undercuts. Again, beware of boiling off volatile components.
Essential Safety & Maintenance Tips
- NEVER allow material to overflow the container within the chamber.
- NEVER use acetone-based solvents near the acrylic chamber lid, as they can cause severe damage.
- ALWAYS use a disposable or cleanable internal container.
- ALWAYS check the vacuum pump oil level and clarity. Cloudy oil needs changing immediately.
- MAINTAIN YOUR PUMP: Regular oil changes are vital. Ensure the pump is hot before draining the oil. NEVER use solvents as a flushing agent; use only clean vacuum pump oil for flushing.
Factors Affecting Gas Removal
Common Causes of Bubbles in Castings:
- Air trapped during mixing resins and hardeners.
- Air trapped within intricate molds.
- Gases generated during the curing process.
- Moisture or contamination in the mixture.
Factors That Affect the Removal of Gases:
- High Viscosity: Heating the material can reduce viscosity but consider its effect on pot life.
- Equipment: Larger, faster vacuum pumps and the ultimate final vacuum pressure improve efficiency.
- Technique: Stirring under vacuum or balancing valve pressure can speed up the process.
Below are a few .pdf files and downloads for system advice and guidance notes.
Applied Vacuum Engineering, Units 7-9, Mead Court, Cooper Road, Thornbury, Bristol BS35 3UW
Tel: +44 (0)1454 413561
Applied Vacuum Engineering is the trading name of AVE (1977) LTD. Registered in England No.
9051173

AVE are the main UK service centre for DVP
Specialists in vacuum engineering and vacuum pump servicing
Take a look at our other sites here:


© 2026 Applied Vacuum Engineering
AVE standard T's and C's
Website by MJ-WebDesign Ltd.